Mark J. Berger
MITM Yourself: Inspecting iOS HTTPS traffic
See the rh-cc-exporter Github repo for all code mentioned in this post.
Robinhood recently launched a credit card offering 3% cash back on all purchases. While the app is fantastic, it has one major drawback: I can’t download my transactions as a CSV or Quicken file. If this were a website, I could easily use Chrome DevTools to inspect the HTTP requests and replay them in a Python script. Unfortunately there is no web portal for the card - all I have is the app. So how can we inspect the network traffic?
Turns out one way to do this is to set up a web proxy on a separate machine. This computer will then record all of the traffic between the iOS app and Robinhood servers. Once we have the requests, we can replay similar requests in our script to obtain the transaction data. Essentially, we man-in-the-middle attack ourselves.
This process is easy to accomplish with mitmproxy. mitmproxy is an open-source proxy tool that allows users to intercept, inspect, and modify HTTP and HTTPS traffic, making it ideal for tasks like this. Simply install the tool and run the proxy:
brew install mitmproxy
...
🍺 mitmproxy was successfully installed!
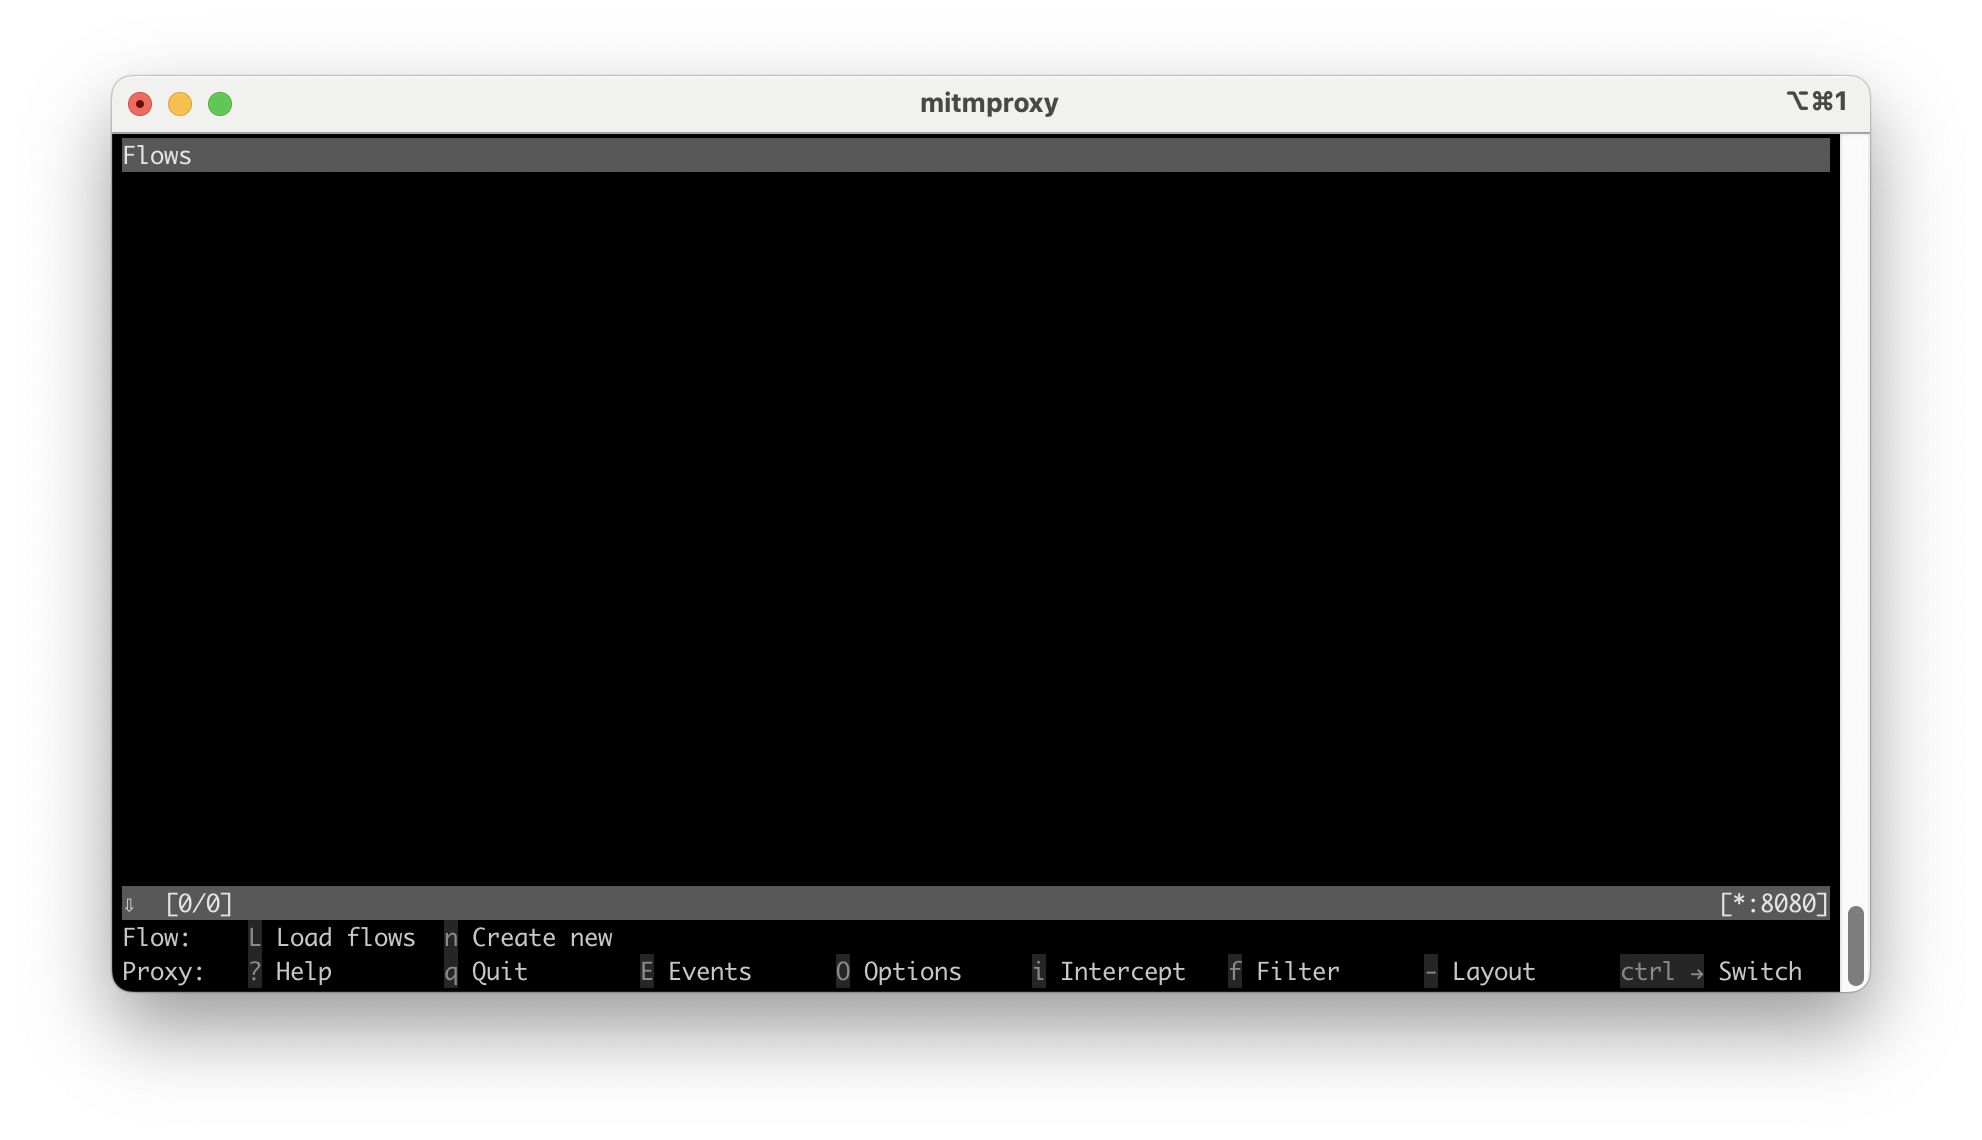
mitmproxy
You should see a blank screen like this:
Now run ifconfig to determine the machine’s IP address. This is usually listed
under en0 or eth0. With this information, we can point our iPhone at the
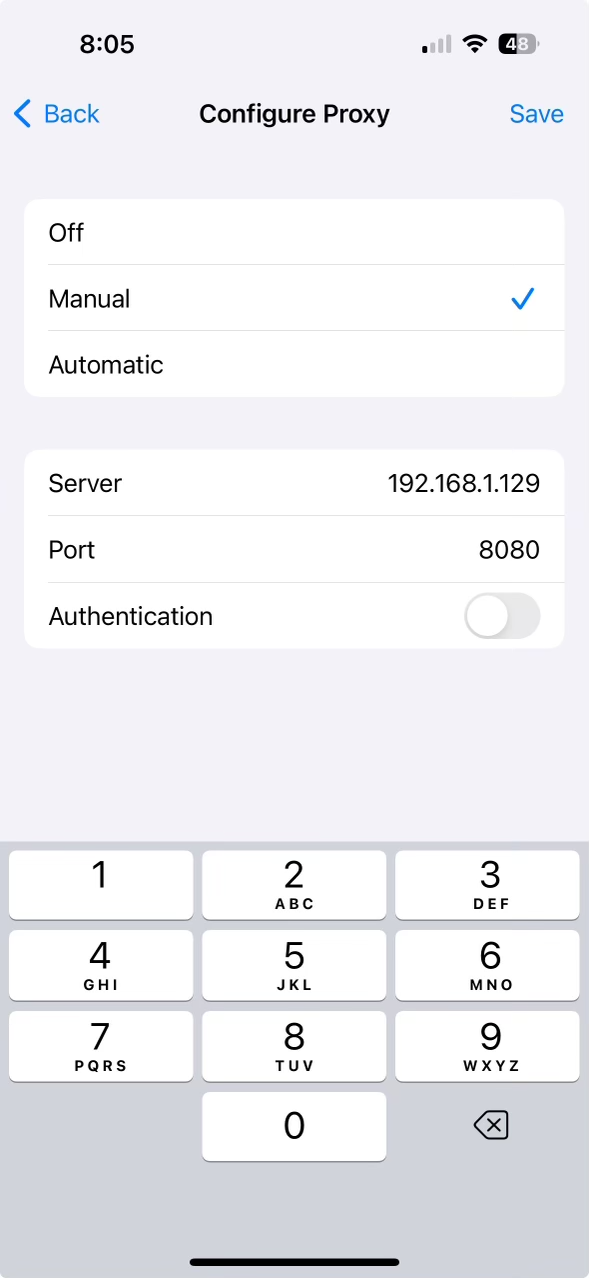
proxy to start capturing requests. On the iOS device, go to Settings > WiFi and
click the blue info circle next to the current WiFi connection. Scroll all the
way to the bottom and click “Configure Proxy”. Select “Manual” and then input
the IP address with port 8080.
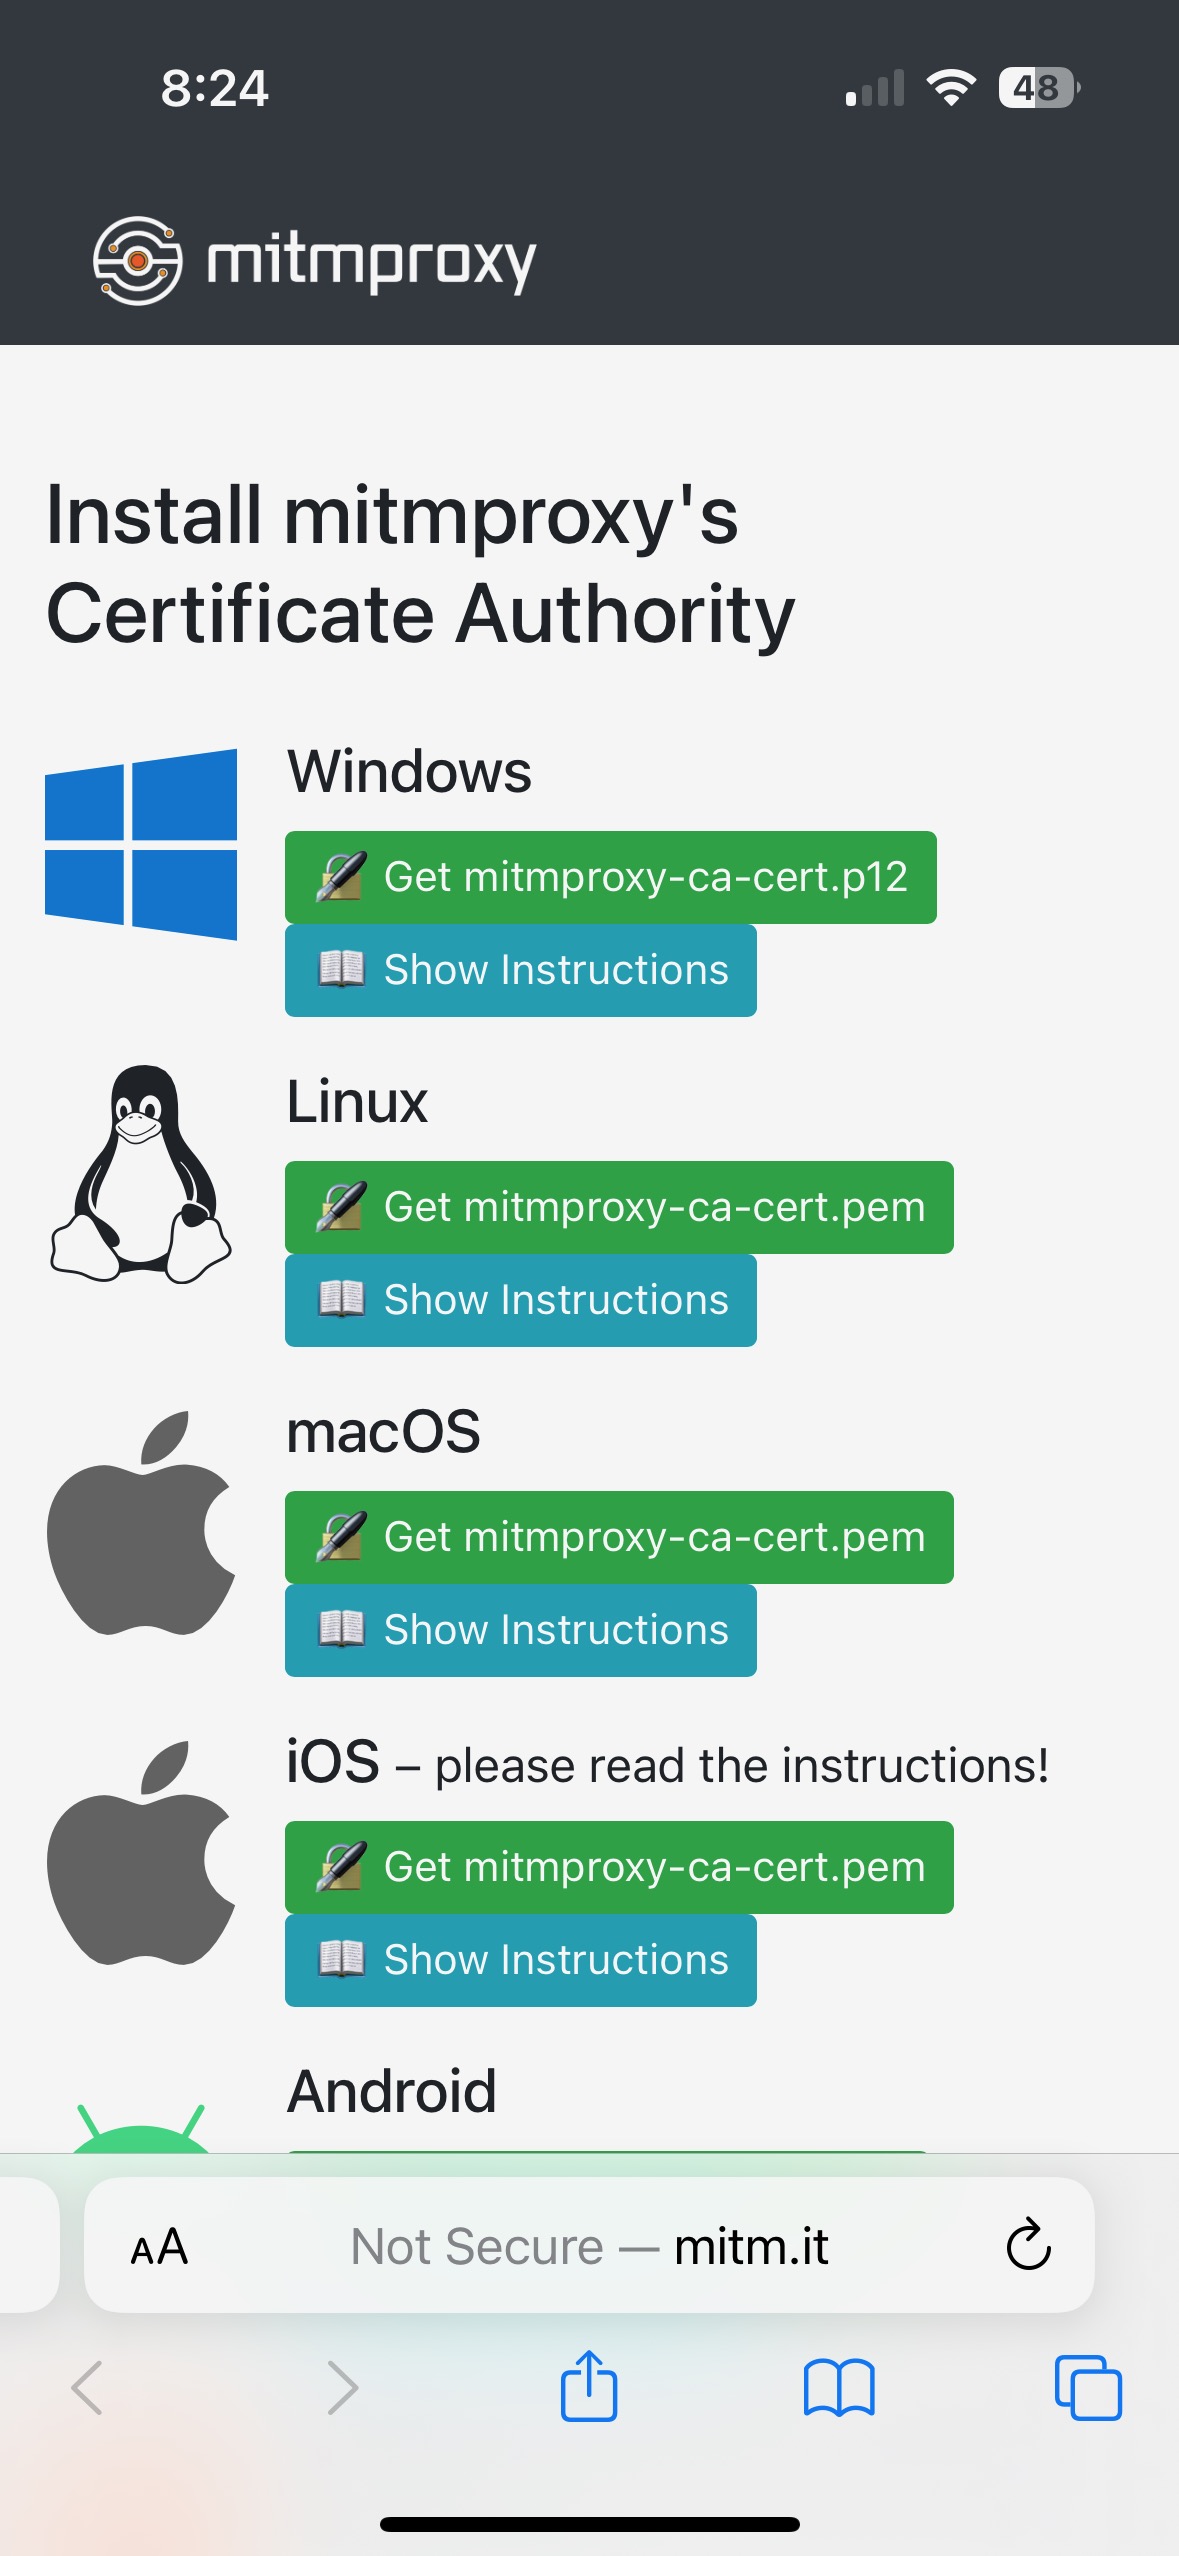
The traffic we’re interested in is likely HTTPS, so we need to complete one more step by trusting the mitmproxy CA. Navigate to mitm.it on your iPhone and you should see the following page:
After downloading the file, we must install it and enable full trust. Go back to Settings > General > VPN & Device Management > mitmproxy. Click “install” in the upper right-hand corner. Now navigate to Settings > About > Certificate Trust Settings all the way at the bottom. Enable full trust for the mitmproxy certificate.
If everything is working correctly, mitmproxy will start to show network requests from your iPhone. Here is what my console looks like from installing the mitmproxy CA and opening the credit card app:
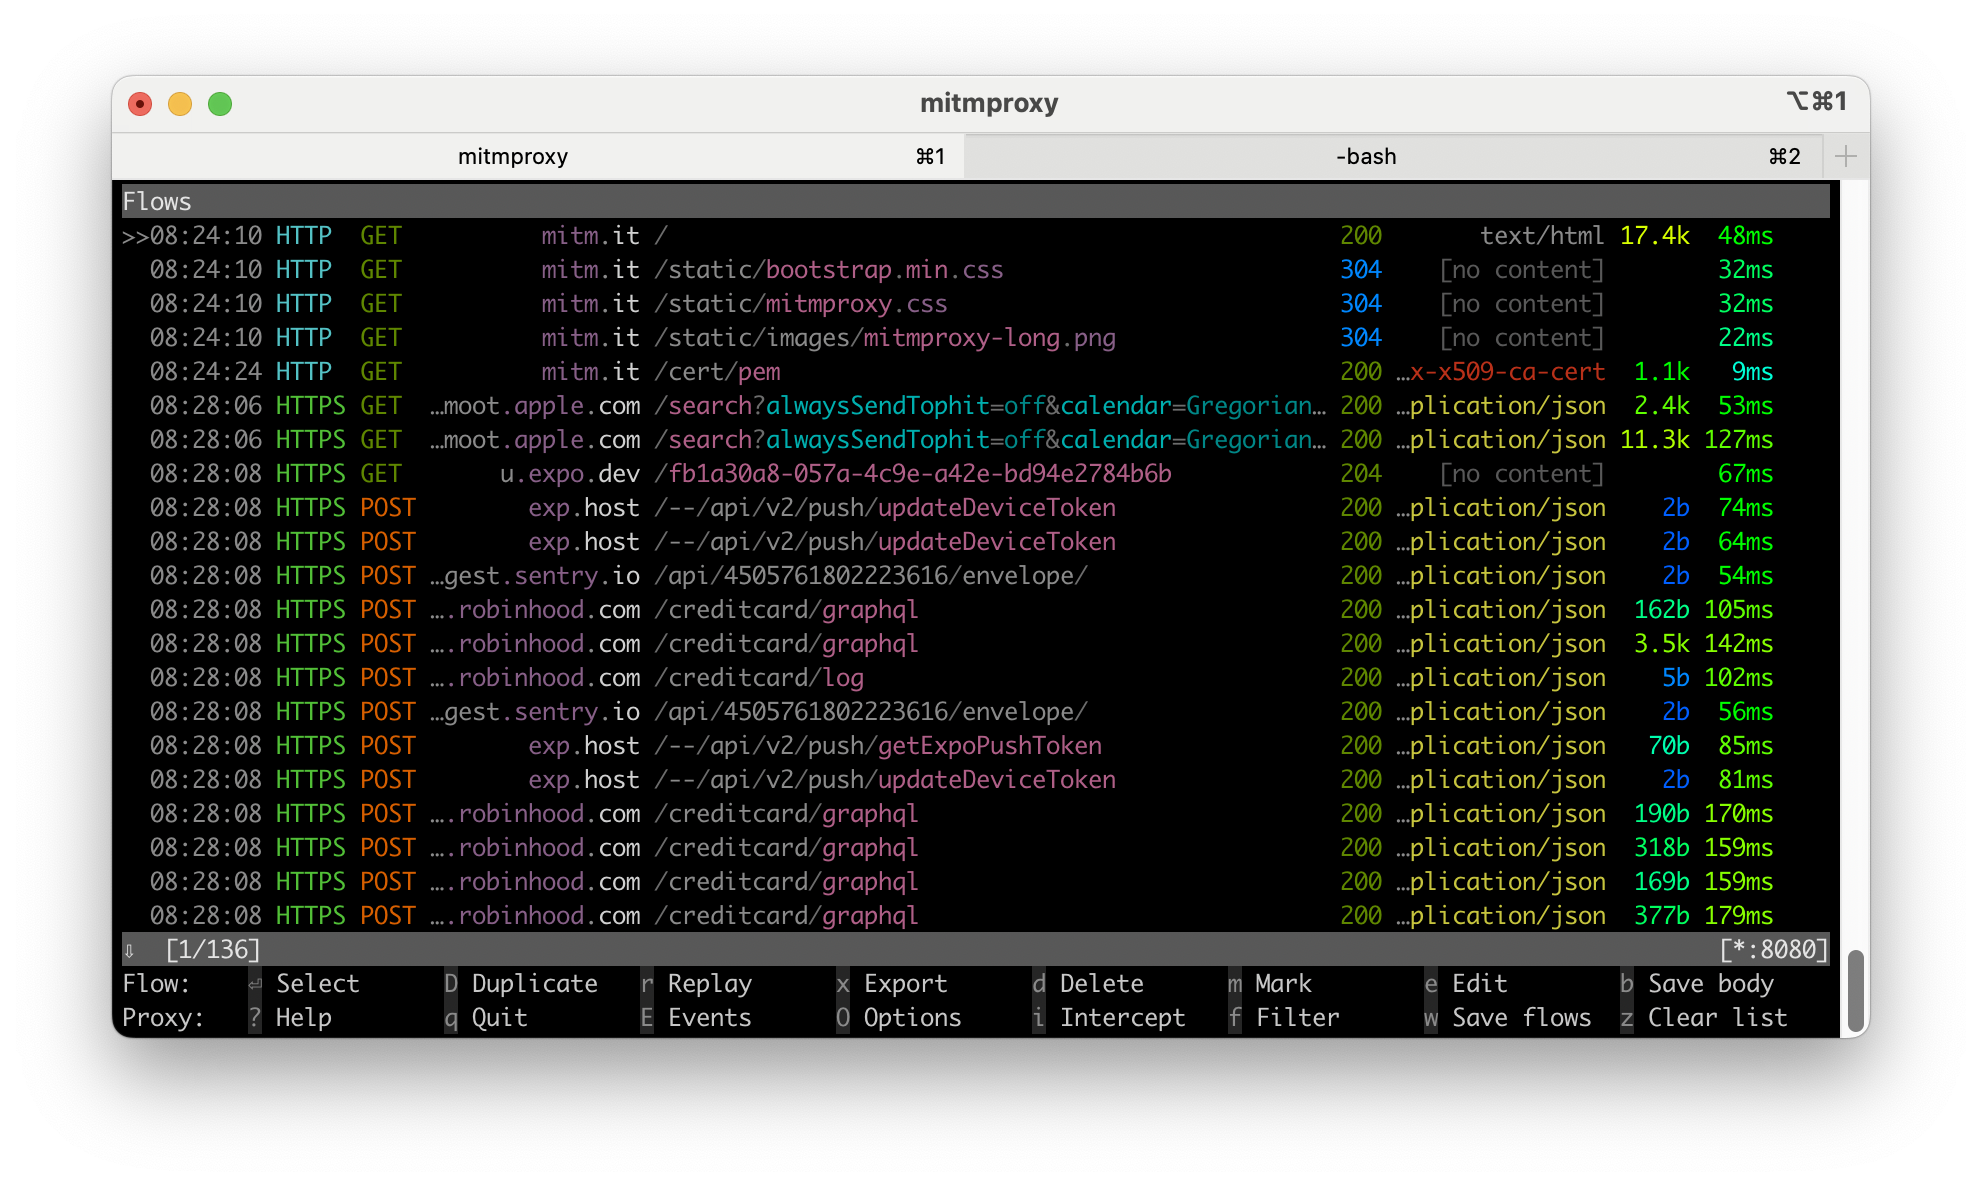
At this point, we can see we are working with a GraphQL
API. Explore this interface for a bit, and you will eventually find the request
responsible for fetching transactions. You can immediately filter down to these
by pressing F and typing ~b transaction. This returns all requests with
“transaction” in the body. Press enter to see the details on a given request.
There are some headers that appear important:
content-type:     application/json
authorization:    Bearer eyJhb...
user-agent:       rhcardapp/1.35.0 CFNetwork/1498.700.2 Darwin/23.6.0
x-x1-client:      [email protected]
And the GraphQL query:
{
  "query": "...",
  "operationName": "TransactionListQuery",
  "variables": {
    "q": {
      "creditCustomerId": "aSecretIDontWantToShareWithYou :)",
      "filters": {
        "values": []
      },
      "sortDetails": {
        "field": "TIME",
        "ascending": false
      },
      "limit": 40
    }
  }
}
---
query TransactionListQuery(
  $q: TransactionSearchRequest!
) {
  transactionSearch(q: $q) {
    items {
      id
      amountMicro
      transactionAt
      merchantDetails {
        merchantName
      }
    }
  }
}
With all this information, we can finally start to write our Python script. Let’s replay the same request to confirm things are working:
import requests

GRAPHQL_ENDPOINT = "https://api.robinhood.com/creditcard/graphql"
query = """
    query TransactionListQuery(
        $q: TransactionSearchRequest!
    ) {
        transactionSearch(q: $q) {
            items {
                id
                amountMicro
                transactionAt
                merchantDetails {
                    merchantName
                }
            }
        }
    }
"""
headers = {
    "Content-Type": "application/json",
    "Authorization": f"Bearer {auth_token}",
    "User-Agent": "rhcardapp/1.35.0 CFNetwork/1498.700.2 Darwin/23.6.0",
    "x-x1-client": "[email protected]",
}
body = {
    "query": query,
    "variables": {
        "q": {
            "creditCustomerId": customer_id,
            "filters": {"values": []},
            "sortDetails": {"field": "TIME", "ascending": False},
            "limit": 40,
        }
    },
    "operationName": "TransactionListQuery",
}
response = requests.post(GRAPHQL_ENDPOINT, json=body, headers=headers)
results = response.json()
Now that we have our transactions, we can parse the data into a Transaction
dataclass. This class can then be used to output any file format. Here, I used
the Quiffen package to generate a
QIF file:
from dataclasses import dataclass
from datetime import datetime
from decimal import Decimal

import quiffen

@dataclass
class Transaction:
    timestamp: datetime
    amount: Decimal
    merchant: str

qif = quiffen.Qif()
acc = quiffen.Account(name="RH Gold", desc="RH Gold credit card")
qif.add_account(acc)

for transaction in transactions:
    qif_transaction = quiffen.Transaction(
        date=transaction.timestamp,
        amount=transaction.amount,
        payee=transaction.merchant,
    )
    acc.add_transaction(qif_transaction, header=quiffen.AccountType.CREDIT_CARD)

qif.to_qif("./rh-cc-transactions.qif")
To turn this into a general tool anyone can use, we repeat the same process to obtain the authorization token and the customer id. That’s it! If you would like to use this tool yourself, the Github repo contains complete instructions.
Resources:
- mitmproxy
- robin_stocks - Unofficial Robinhood library for Python